

1. A rag
2. Spray-on cleaner
3. Expired credit card (squeegee)
4. Kitchen Knife - something with an edge to help peel up excess vinyl
5. A friend - if you're applying a large sticker
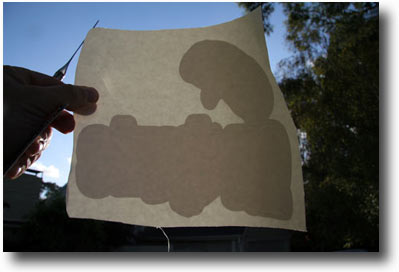
Vinyl cut stickers like the one pictured here, come sandwiched between two sheets of paper. In general, you can tell where the logo and letters are by holding the sticker up to the sun or up to a bright light.
A "semi-weeded" sticker, like this one, is applied like any vinyl cut sticker, but some of the "weeding" is done after its applied. See Step #6

Clean the surface of the area you intend to put the sticker. This step applies to the large format stickers that go onto the side doors of a car, or any surface where you intend to place stickers.

Peel away the waxy paper leaving the sticker attached to the application tape (looks like masking tape).

CAREFULLY place the sticker and application tape onto the surface.
Note: Because the sticker is cut into many smaller stickers, if you try to pull it up after its grabbed onto the surface, you might pull apart the design and ruin the sticker.
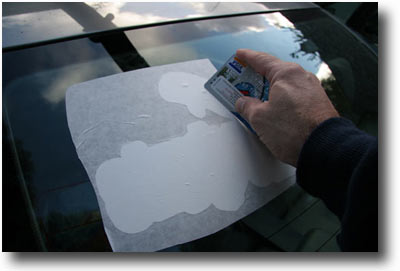
Using your hands, and then a straight edge, like a credit card, smooth down the sticker and application tape. There may be some bubbles that don't smooth out at this point. If they don't come out after weeding, you can remove bubbles by poking them with a pin and then pushing out the air.
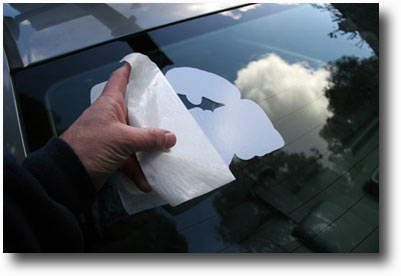
Peel away the application paper.
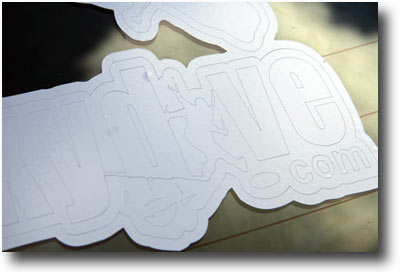
Sometimes when there are fine details (like the chips falling off of the letter "d" on this sticker), the weeding can be done more accurately after the sticker is applied.

Using the knife, or a coin, or your finger nail to get started, slowly pull away the excess vinyl that isn't part of the logo or letters.
Because the sticker is secured to the surface, you should be able to pull up the excess vinyl without pulling up part of the logo itself. But still, be careful when pulling up the vinyl around the small pieces to be sure not to pull any of them up by mistake.
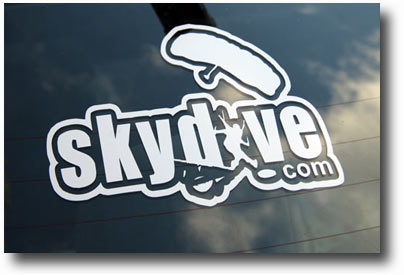
Some of the skydive.com logos come with a surrounding border like the one pictured left. Some of them don't come with this boarder.

If the logo has a boarder and you want to remove it, simply peel it away.
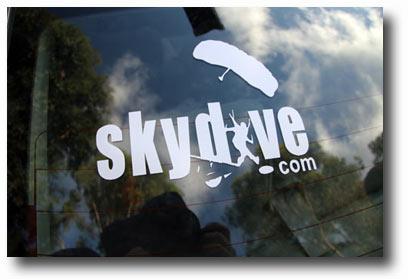
This is how the logo looks without the surrounding boarder. The large format logos also look like this and the general application steps are the same
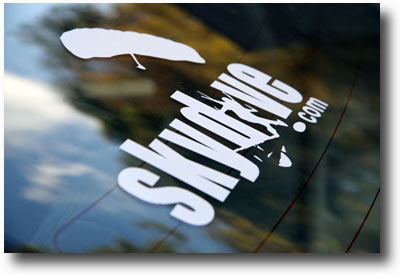
Again, if you are applying a larger sticker, have a friend help with the placement.
Thanks so much for taking skydive.com on the road with you!
Blue Skies!!